
Paint your Paper To make your cake topper you'll have to start by painting tissue paper with your colors. We recommend using at least three colors for every color flower you want. If you want a blue blossom, consider using a bright blue, baby blue and white. Do not mix them up too well, you wish to be able to see the different colours on the paper. Do not use water with your paint, so it will produce the tissue paper overly damp and cause it to tear. Paint gently and then lift the paper periodically to make sure that it isn't sticking to the surface underneath it.

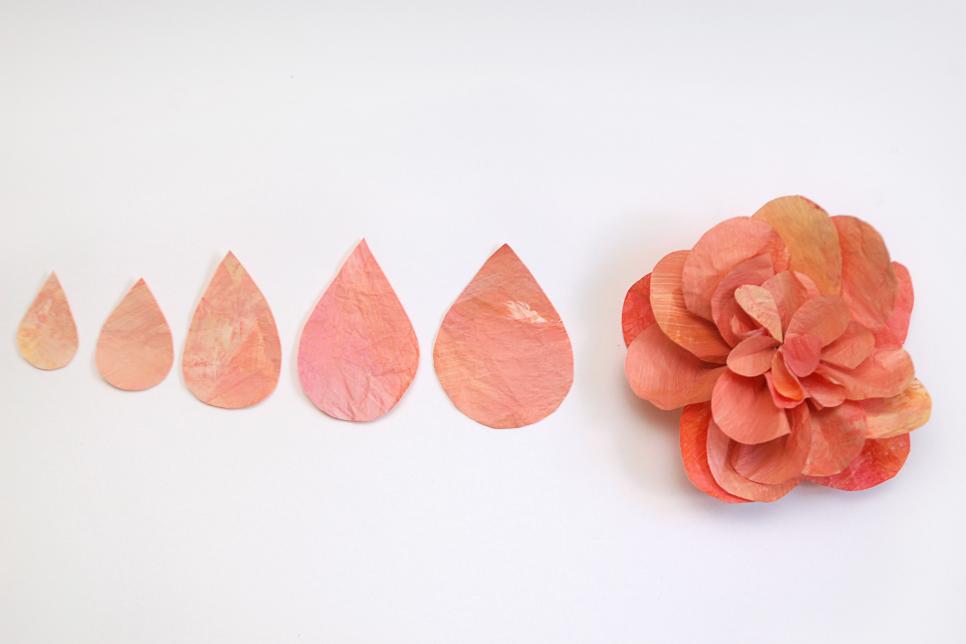
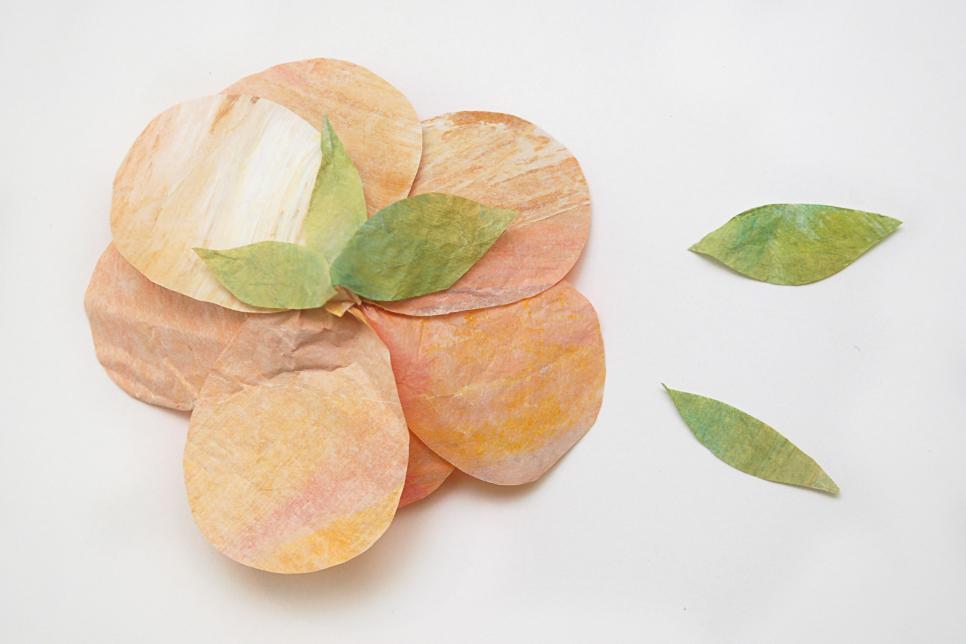
Create your Centerpiece Flower These layered blossoms were motivated by roses and peonies. Start by cutting at teardrop petals in your chosen colour. Just how many and how big your petals should be depends on how big you want your closing rose to be. For 5 distinct sizes are tried by a large one .
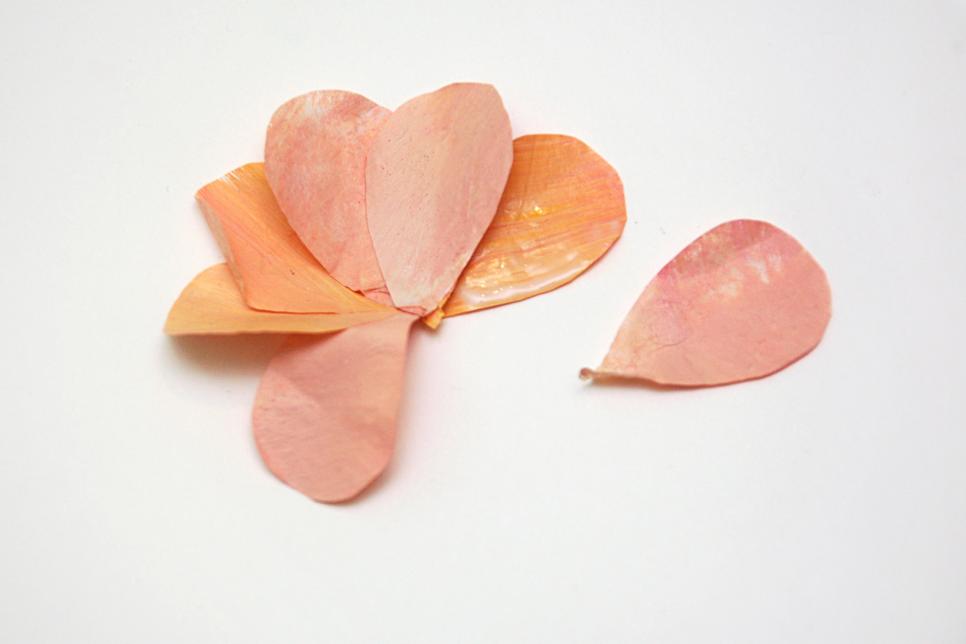
Begin Gluing Begin creating your flower by gluing your tiniest petals together in a half circle. Glue them only at the base so that the petals have liberty to move away from each other in the top. When your half ring is created, bend it into a cone shape and glue. Give the point of the cone a little twist to fasten the petals together. This will be the middle of the base and your flower all other petals will be glued on.
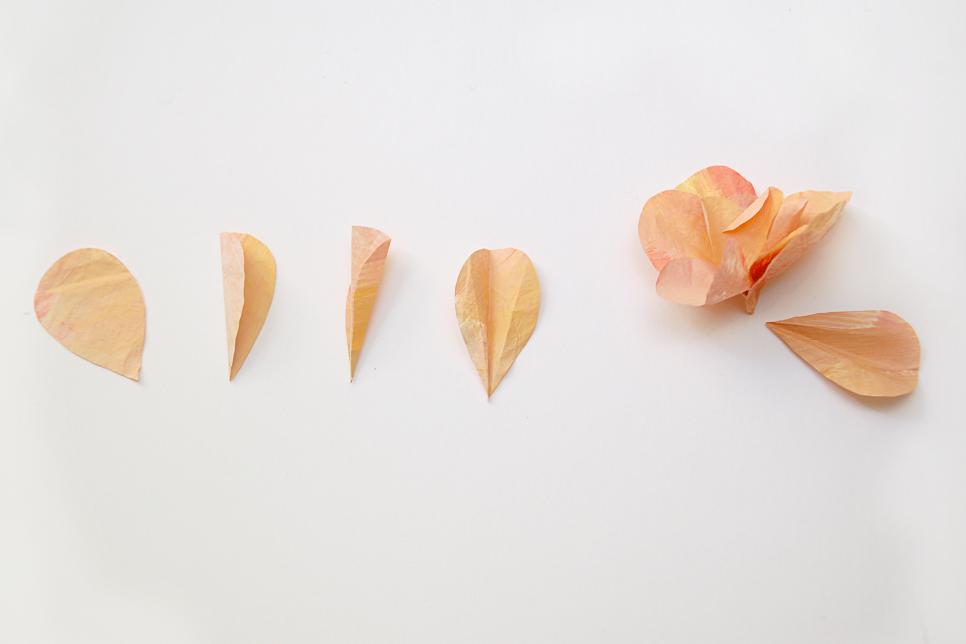
Folding Petals To add more body to a petals and much more fullness to your flower add some creases to a own pond before gluing them. Lay the petal side up, then fold in half lengthwise. Twist the open edges straight back into the folded edge so that your petal is folded into fourths, such as a basic paper plane. Open the petal and smooth out the creases in the top edge before gluing round the cone of petals you've already created.
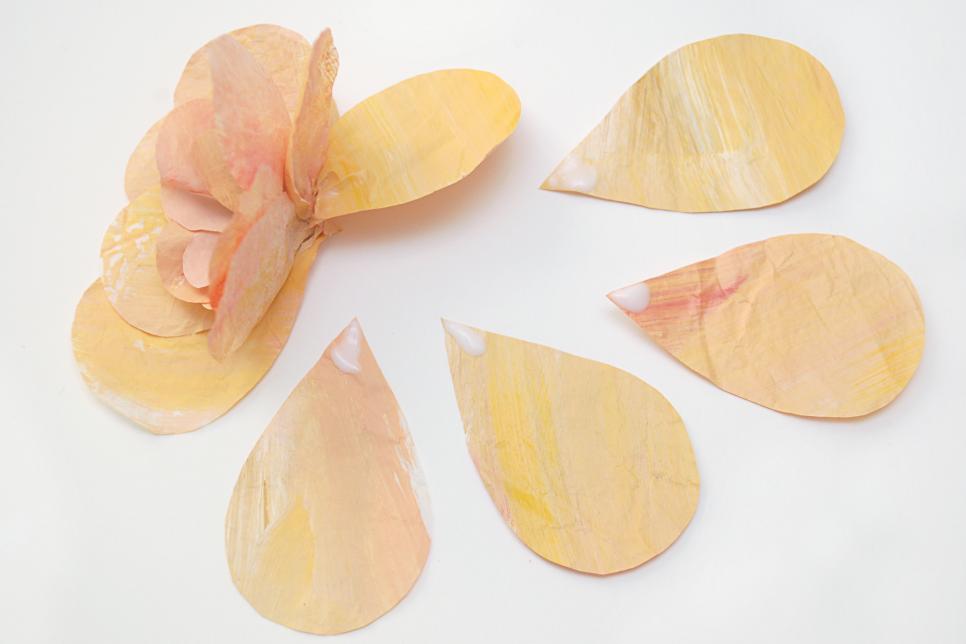
Add more Layers Continue layering petals to create fullness on your blossom. Alternate between folded shades and horizontal petals, twisting them around the base as you glue to secure them. If you're having trouble, have a break and allow the paste on each layer dry before adding the next.
Finish the Back After the flower is dry, glue a couple leaf shapes into the back of the blossom to pay the twisted base. This isn't absolutely necessary if you're sure the rear of your flower won't show, but it generates a more polished finish.
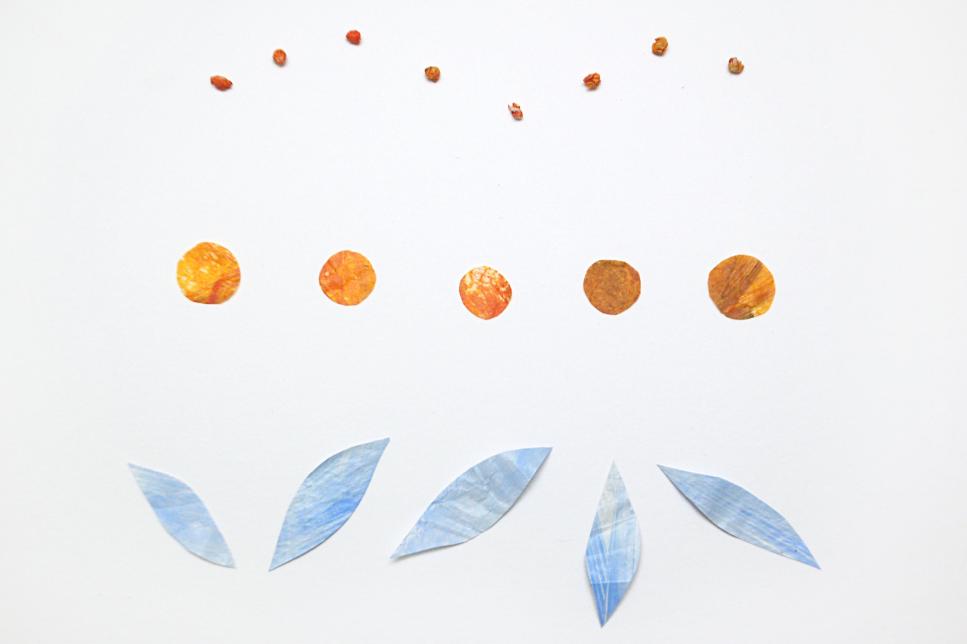
Daisy Supplies Produce daisies by cutting a series of thin petals, pointed on both ends. Cut small circles from orange or yellow paper and roll them tightly into chunks.
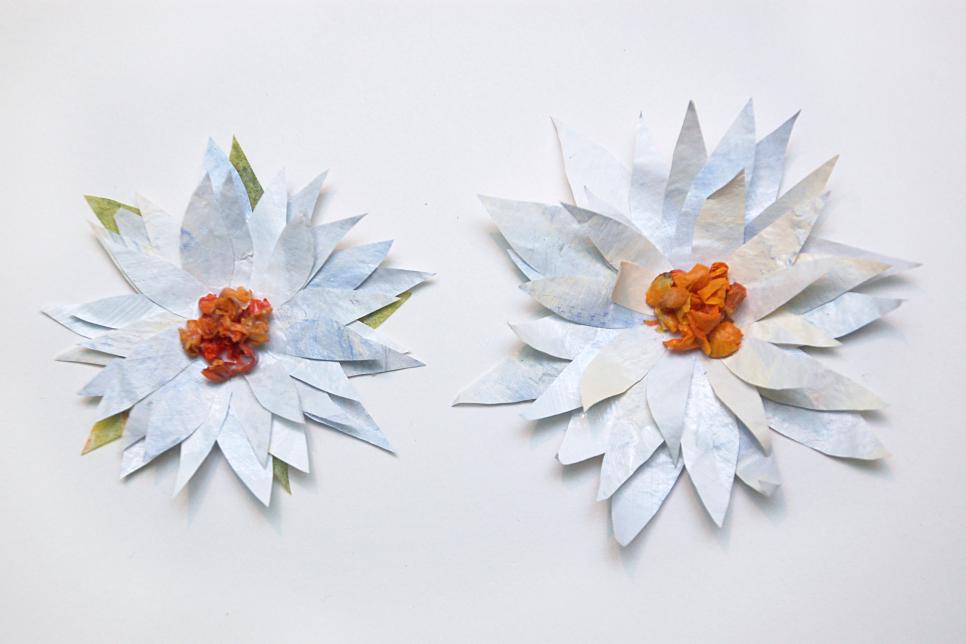
Create your Daisies Produce the daisies by gluing the petals together in a circle. Add more layers of petals at the top, gluing only in the middle. Place the orange paper balls at the centre with a hefty drop of adhesive. The newspaper loosen and will expand from the moisture of this paste.
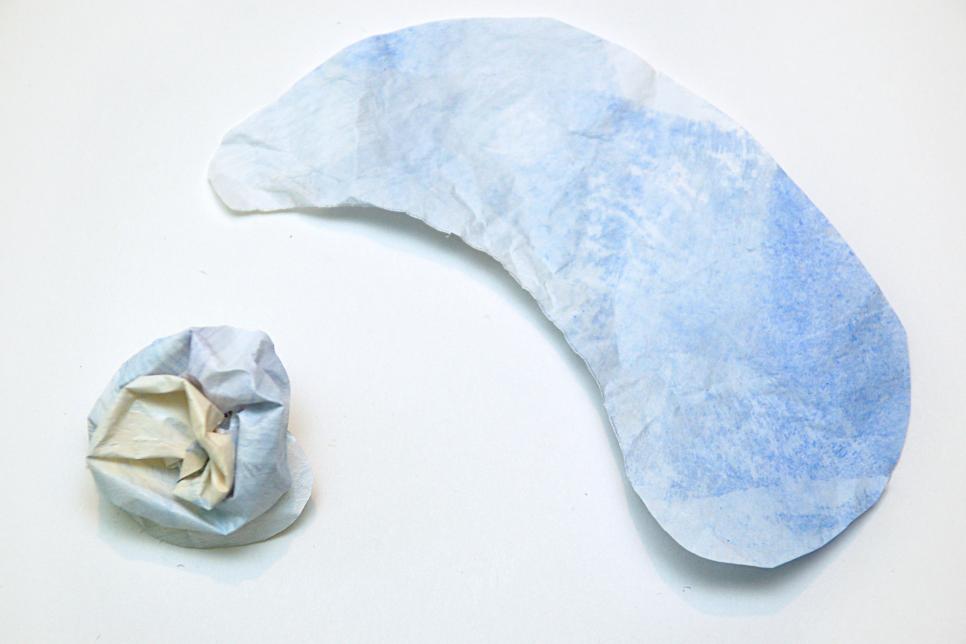
Create Accent Roses Cut curved paisley shapes from the paper and twist around itself beginning at the small end. Add glue as you turn to fasten it in a spiral. You are able to create large or tiny blossoms using this particular technique, whatever will fit best on your general arrangement.
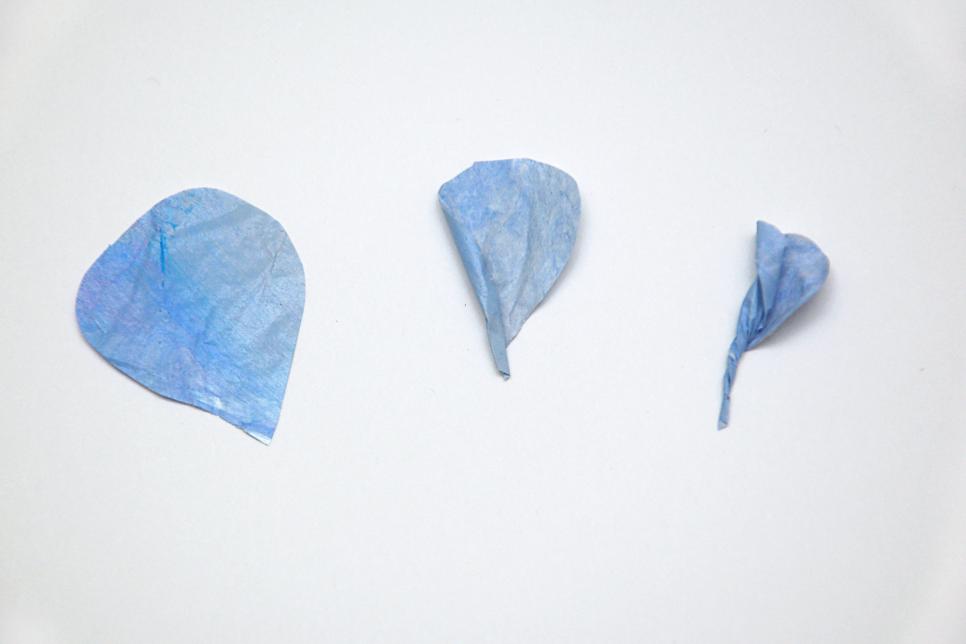
Little Flowers Create your small flowers by cutting on teardrop shapes out of your preferred colour and twisting them in the narrow end. Twist it firmly around half way up while maintaining the top a bit looser.
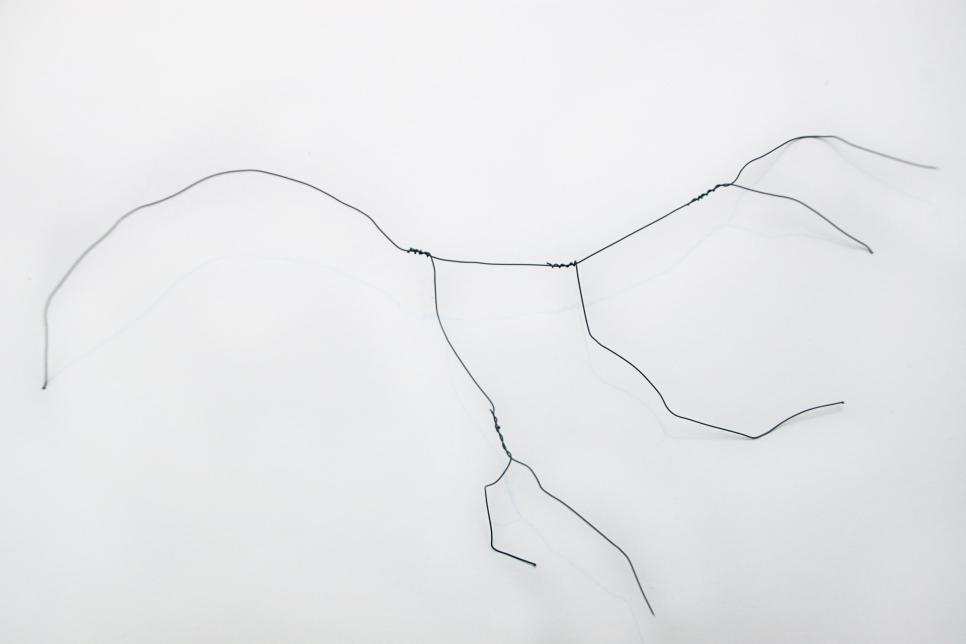
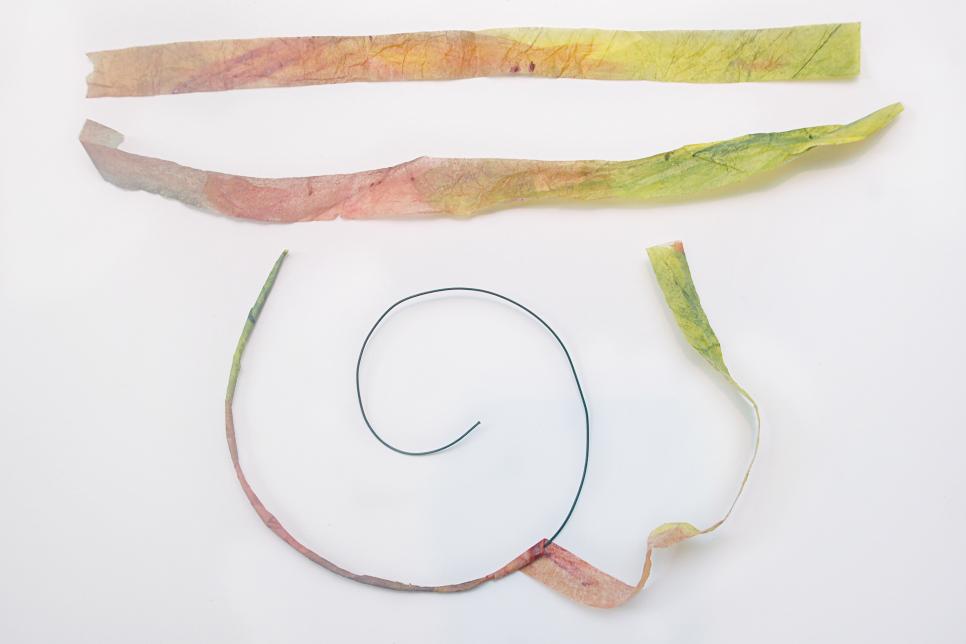
Create Branches To create a series of small branching flowers you'll have to begin by shaping a branch foundation. You can use quite soft wire, so long as it is powerful enough to maintain its shape when you bend it. Cut one long piece of cable and wrap smaller sections around it that branch off.
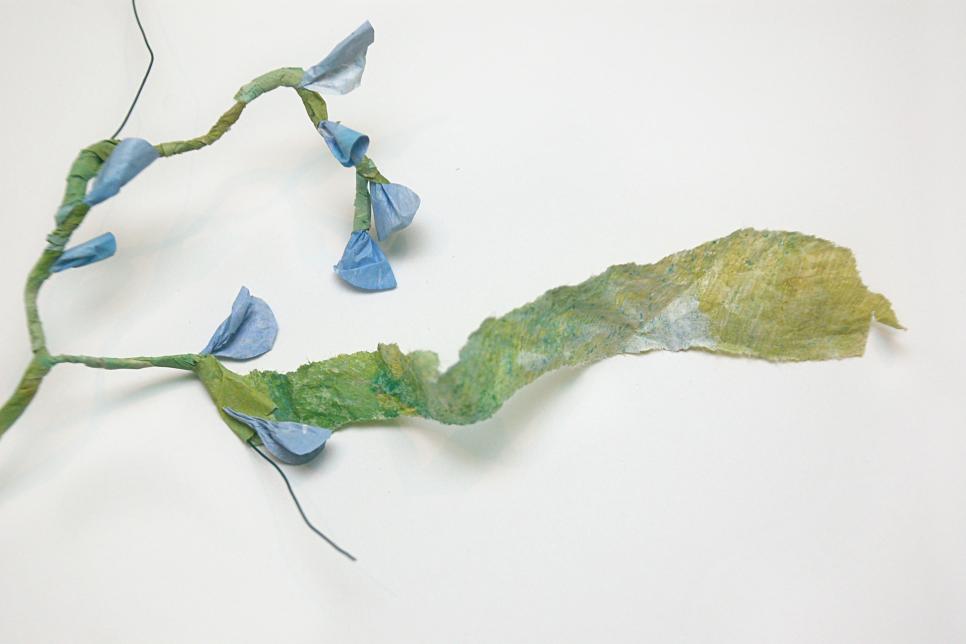
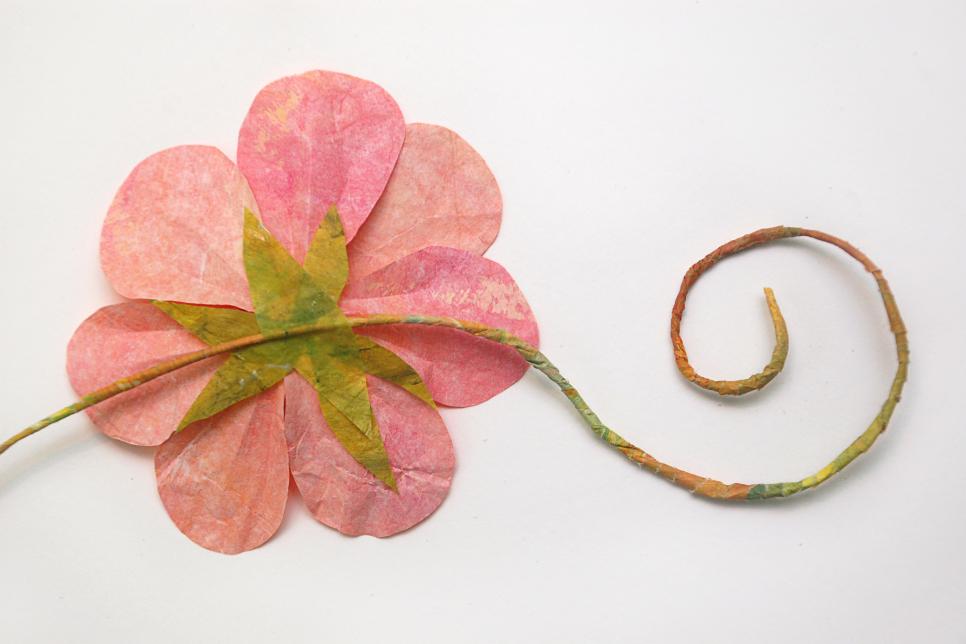
Attach your Flowers Attach the flowers to the cable with a drop of glue and wrap strips of paper round the wire and the twisted end of the blossom to fasten.
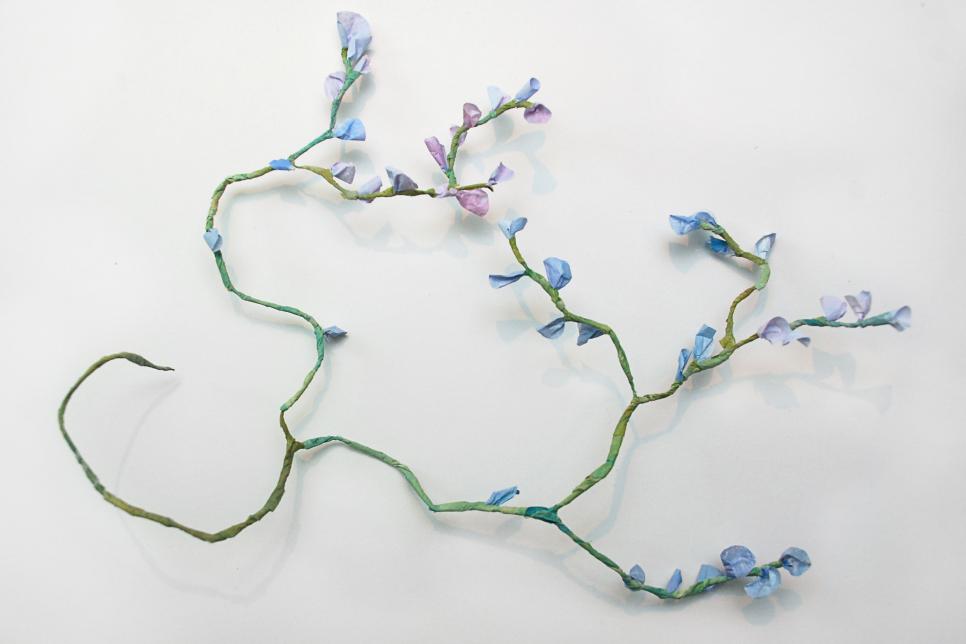
Continue Adding Flowers Continue wrapping and adding flowers until the whole wire is coated.
Create a Framework You are going to require a way to arrange all of your flowers, and one of the easiest is to attach them to a wire framework. Choose a cable soft enough to bend without too much trouble, but one that's stiff enough to hold its shape. Cut strips of paper and wrap the wire, gluing as you go, until it is totally covered. Bend the wire into a spiral shape that reaches upward as it becomes thinner to create a loose cone.
Arrange and Attach Attach the flowers to your wrapped wire base by cutting long leaf shapes out of green paper. Place the cable over the back of the flower and paste the paper over the wire onto the back of the flower. Repeat with one or 2 pieces of paper to be sure the flower is protected. Let dry.
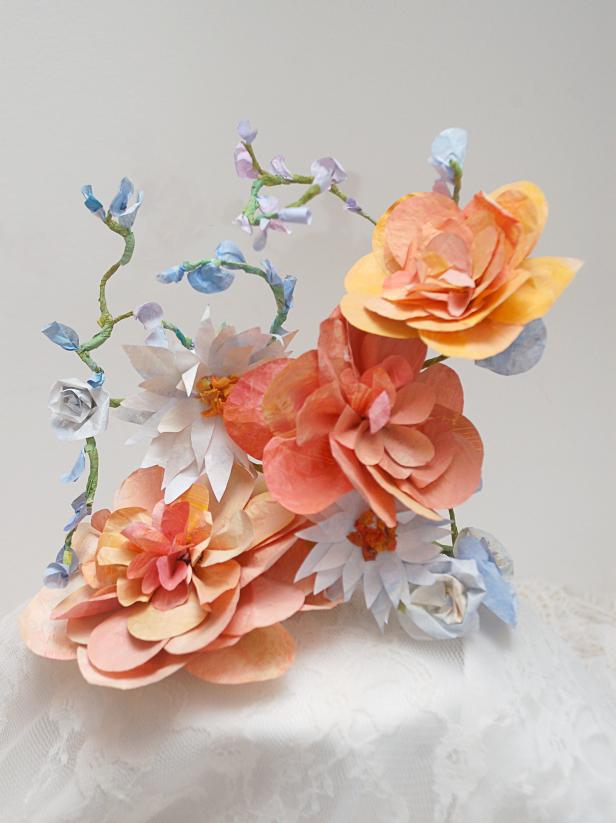
Completed Arrangement Once your flowers are securely attached and the glue has dried it is possible to bend the cables prior to your flowers are arranged just the way you like. You can mix your paper arrangement with actual flowers on your cake, but after the cake has been chopped and the blossoms eaten, this topper will still be a beautiful reminder of a treasured moment.
No comments:
Post a Comment